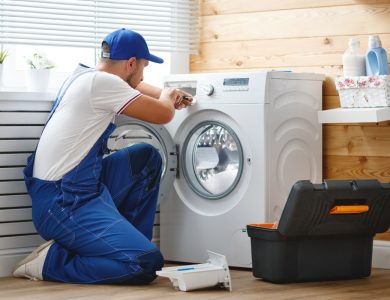
Top 5 Affordable Garage Door Opener Repair Tips
Have you ever wondered if simple maintenance really can extend the life of your garage door opener? Many homeowners overlook basic checks that could save them money in the long run. By implementing a few straightforward and budget-friendly repair tips, you might be surprised at how much smoother your opener operates and how much longer it lasts. Curious about what these tips entail and how easy they are to apply?
Key Takeaways
- Check the power source by ensuring the connection is secure and the circuit breaker hasn’t tripped to troubleshoot electrical issues.
- Inspect and replace remote batteries if the remote isn’t functioning, ensuring they are installed correctly.
- Tighten any loose hardware on the opener and tracks to ensure stability and optimal performance.
- Clean and align the sensor eyes with a soft cloth to prevent operational issues caused by dirt or misalignment.
- Lubricate moving parts, such as hinges and rollers, every six months to reduce wear and ensure quieter operation.
Check the Power Source
Often, the first step in troubleshooting your garage door opener is to check the power source. Start by ensuring it’s connected; a loose connection could be the culprit.
If you notice a power outage, it’s crucial to confirm that the circuit breaker hasn’t tripped. Inspect the electrical wiring for any visible damage or fraying, as this can disrupt functionality.
If everything seems intact, consider testing the outlet with another device to rule out issues. Remember, a simple reset might do the trick if the power source is fine but the opener still won’t respond.
Inspect Remote Batteries
A seamless operation of your garage door opener relies not just on the unit itself, but also on the remote that controls it. If you’re experiencing issues, the first thing to check is the remote functionality. Often, a simple battery replacement can resolve your problems.
Start by opening the remote’s battery compartment; you’ll typically find it on the back. Remove the old batteries and check for any corrosion or damage. Replace them with fresh batteries, making certain they’re installed in the correct orientation.
After replacing, test the remote to see if it works correctly. Regularly inspecting and replacing batteries can save you from unnecessary headaches and guarantee your garage door operates smoothly whenever you need it.
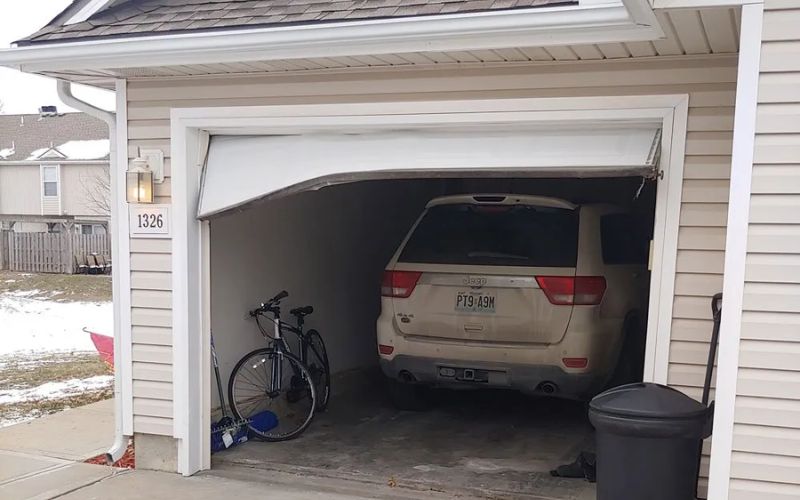
Tighten Loose Hardware
After confirming your remote is functioning properly, it’s time to turn your attention to the hardware that supports your garage door opener. Loose hardware can cause malfunctioning issues, so let’s tighten it up for better performance. Start by checking the bolts and screws on the opener and tracks.
Here’s a quick guide on what to check:
| Component | Tool Needed | Action |
|---|---|---|
| Bolts | Wrench | Secure thoroughly |
| Screws | Screwdriver | Verify they’re secure |
| Brackets | Socket set | Inspect for stability |
Remember your safety precautions: wear gloves and goggles while working. These simple DIY solutions can save you time and money, ensuring your garage door operates smoothly.
Clean the Sensor Eyes
Clear away any dirt or debris from the sensor eyes to [CONFIRM] your garage door opener functions flawlessly. Keeping the sensors clean [CONFIRMS] proper sensor alignment, preventing unwanted stops or failures. If you notice issues with your garage door, don’t panic—these troubleshooting techniques can help.
- Use a soft cloth or paper towel to wipe the sensors gently.
- Check for any signs of misalignment and adjust if necessary.
- Inspect the wiring for any damage or loose connections.
- Test the opener after cleaning to [CONFIRM] it’s working correctly.
Lubricate Moving Parts
Maintaining clean sensor eyes is just one part of ensuring your garage door operates smoothly; lubricating the moving parts is equally important. Regular lubrication helps prevent wear and tear, making your door quieter and extending its lifespan. It’s a key aspect of preventative maintenance that you can easily handle through DIY troubleshooting.
| Moving Part | Recommended Lubricant |
|---|---|
| Hinges | Silicone spray |
| Rollers | Lithium grease |
| Tracks | White lithium grease |
Using the right lubricant on these components every six months can save you from costly repairs down the line. Just apply a small amount, wipe off the excess, and you’re good to go! Keep your garage door running like new with this simple tip.
Conclusion
By taking these simple, affordable steps, you can keep your garage door opener in top shape. Check the power source, inspect the remote batteries, tighten loose hardware, clean the sensor eyes, and lubricate moving parts. Each action you take not only enhances functionality but also saves you time and money in the long run. So, invest a little effort today, and enjoy a smoothly operating garage door tomorrow—because a little maintenance goes a long way in preventing major headaches later!